 "Cé hé sin" (michael-m-mouse)
04/14/2020 at 17:15 • Filed to: Lawn mower, Woodruff key, Briggs and Stratton
 0
0
 17
17
 "Cé hé sin" (michael-m-mouse)
04/14/2020 at 17:15 • Filed to: Lawn mower, Woodruff key, Briggs and Stratton |  0 0
|  17 17 |
Our lawnmower is being vexatious. It doesn’t easily start and tends to kickback, pulling the starting cord violently from your hand. That’s not good.
According to the internets the likely cause involves a Woodruff key. You what?
!!!error: Indecipherable SUB-paragraph formatting!!!
It’s a little metal peg that joins a shaft to something that rotates with it. It also serves as a sacrificial weak point. There’s one here just below the shaft.
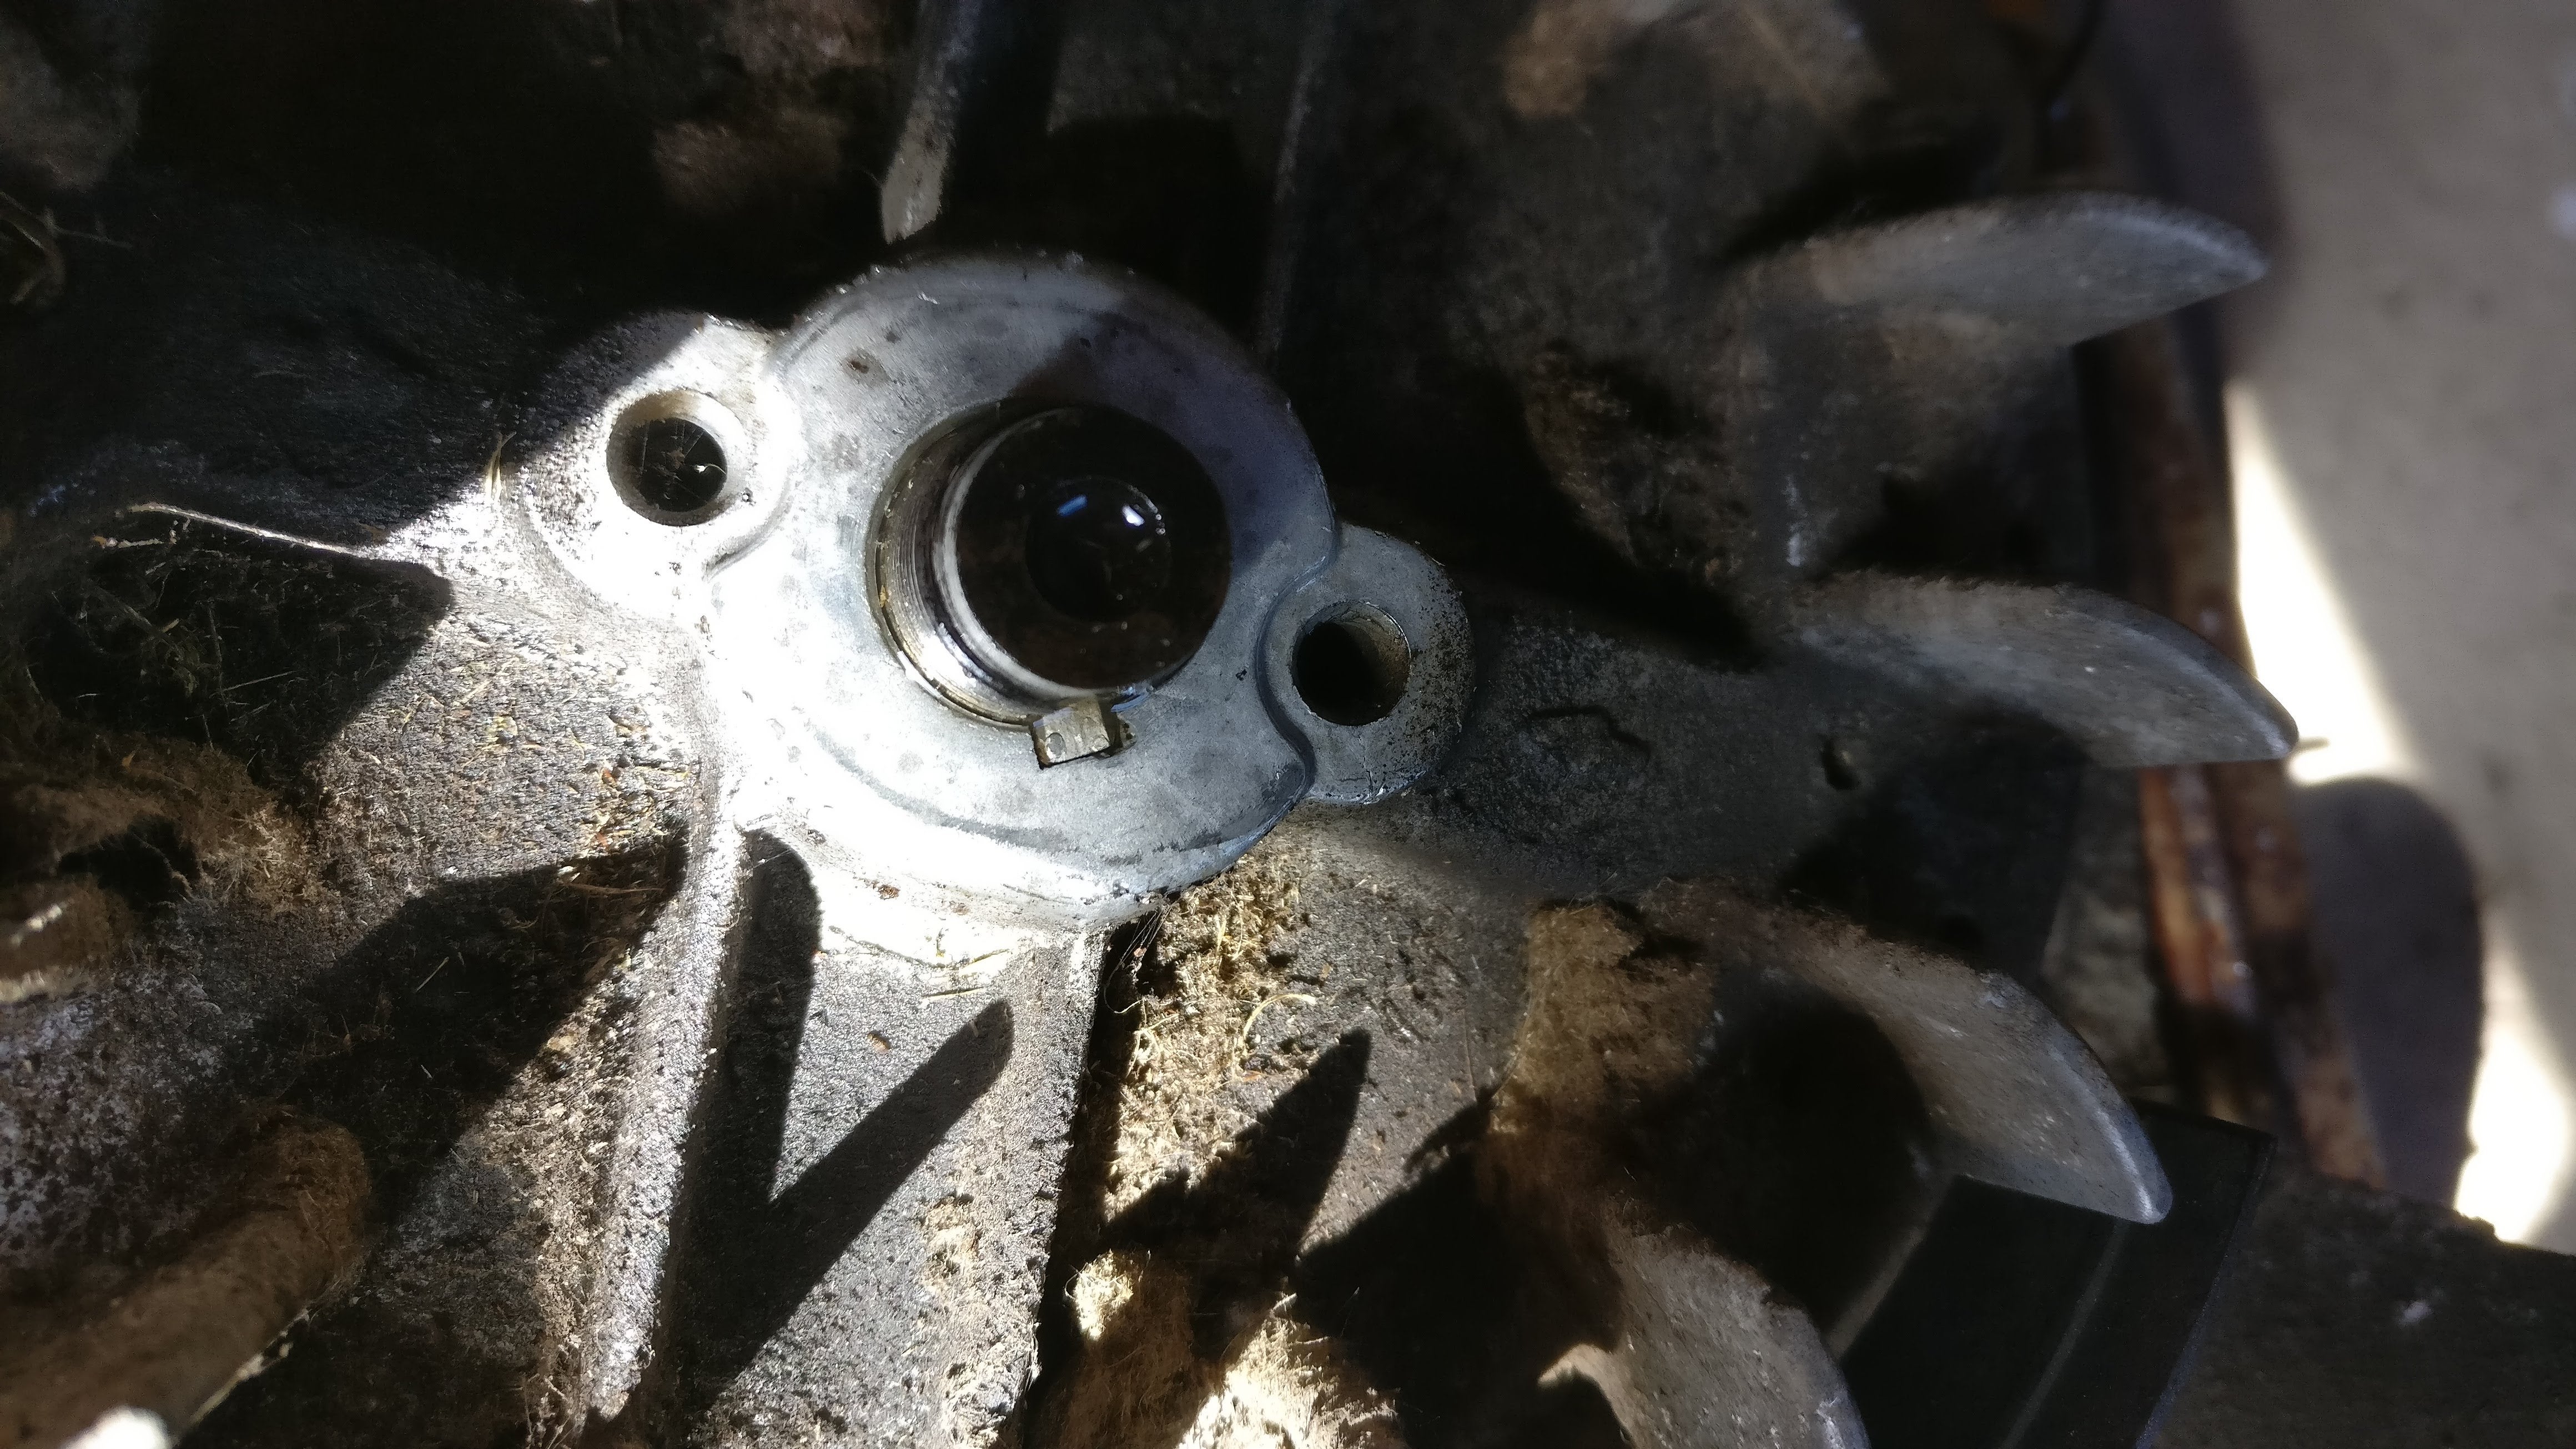
That particular one attaches the flywheel to the crankshaft. The most likely issue is that sometime in the past our mower’s blade hit something hard which caused to it come to a sudden halt. The flywheel however has considerable momentum (that’s what they’re for) and it tried to keep going which caused the Woodruff key to distort and the flywheel to advance a little with respect to the crank. That’s not good, because it’s not only a flywheel. It has magnets along its edge which provide electricity for the plug. The position of these magnets with respect to the crank is crucial because therein lies the ignition timing. Advance the flywheel and the spark is produced earlier. Advance it sufficiently and the plug will fire before TDC and push the piston back from whence it came taking the cord an d your hand with it.
Anyway,we’ve got an old and dead mower which has an intact key and the same B & S engine. Might do as a donor then so I started the removal process.
First, we need to take off the nut that holds flywheel to crank. There’s a special B & S tool for this as you need to hold the flywheel stationary while you loosen the nut. No, I don’t have one. The workaround is to clamp a vice grip on to the edge of the wheel which will then allow it to turn only until it comes up against the side of the block. The You Tube videos I watched were all by Americans who said things like “y’all need a seven sixteenths of a hogshead socket to get this off”. Mercifully export models are rational and a 24mm socket did the job.
Next I need to get the flywheel off the crank. B & S also do a tool for this and they helpfully cast “use wheel puller” on the wheel to encou
rage you to deploy it
. I don’t have one, but it would screw into the two holes an
d
haul the wheel up. That is, it would if the holes were thread
ed but they’re not so I’d need to tap them to whatever obscure size B & S use. No
, I don’t have that tool either.
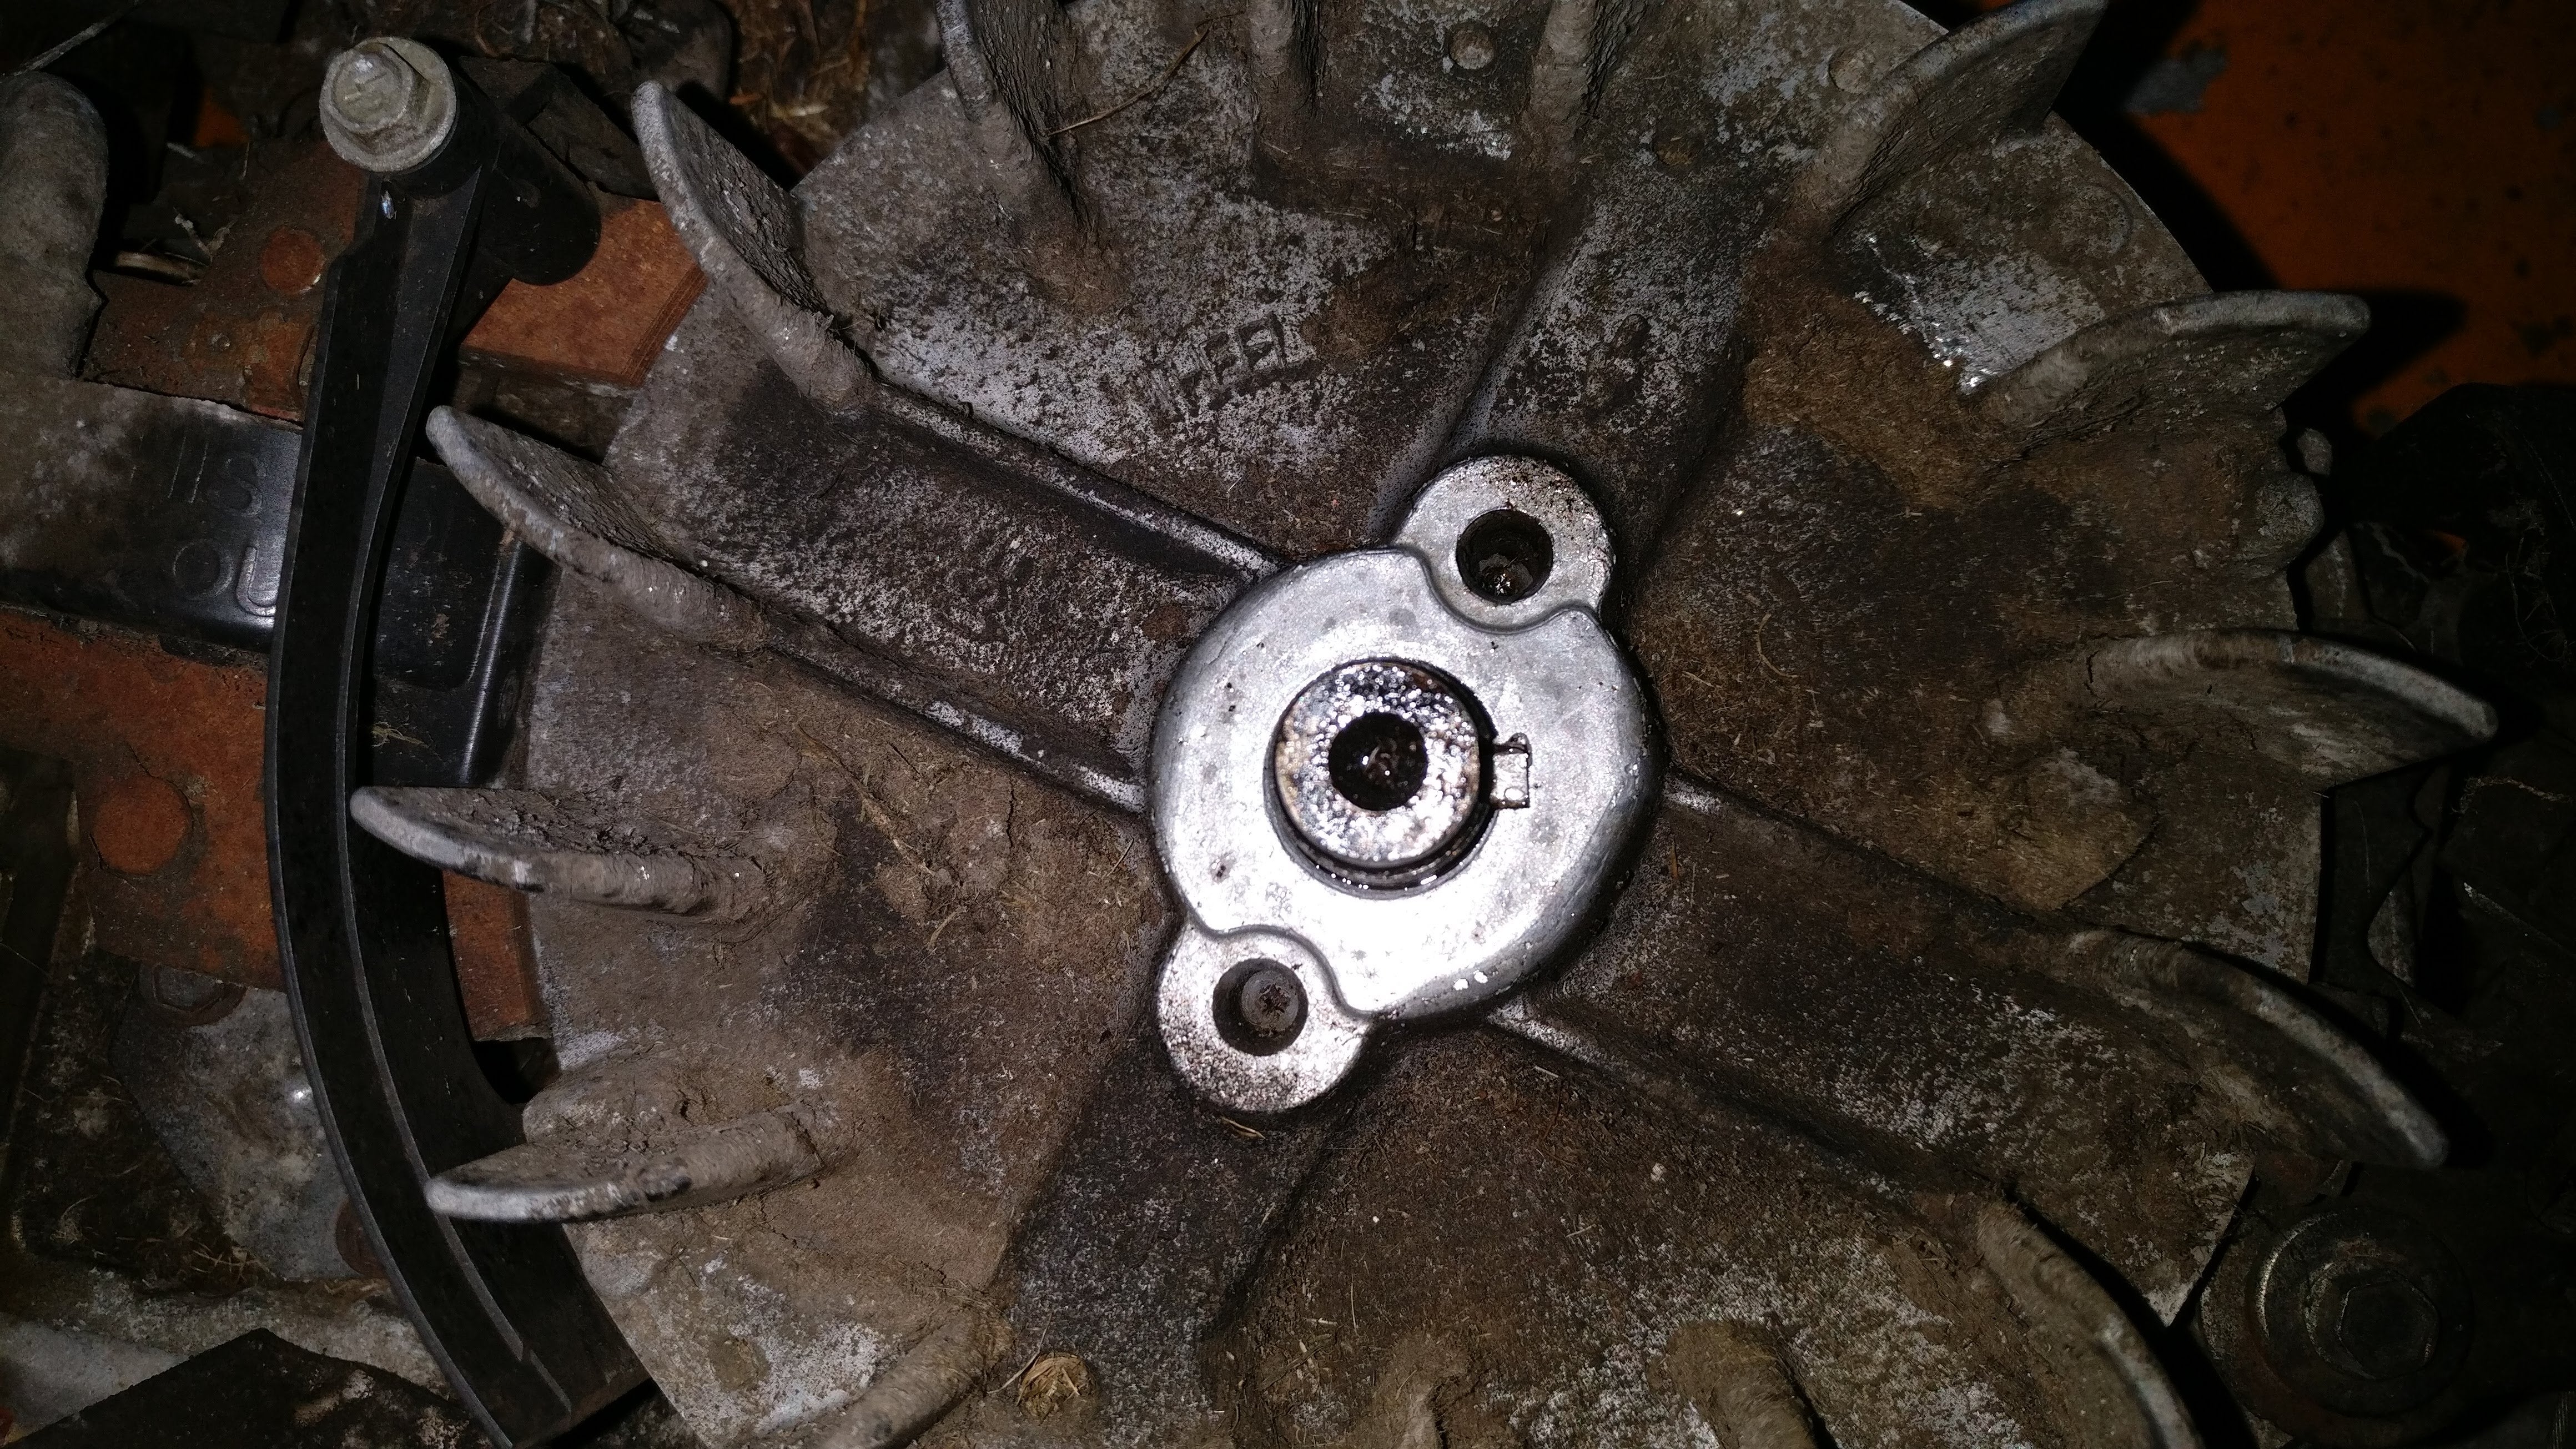
Enter these.
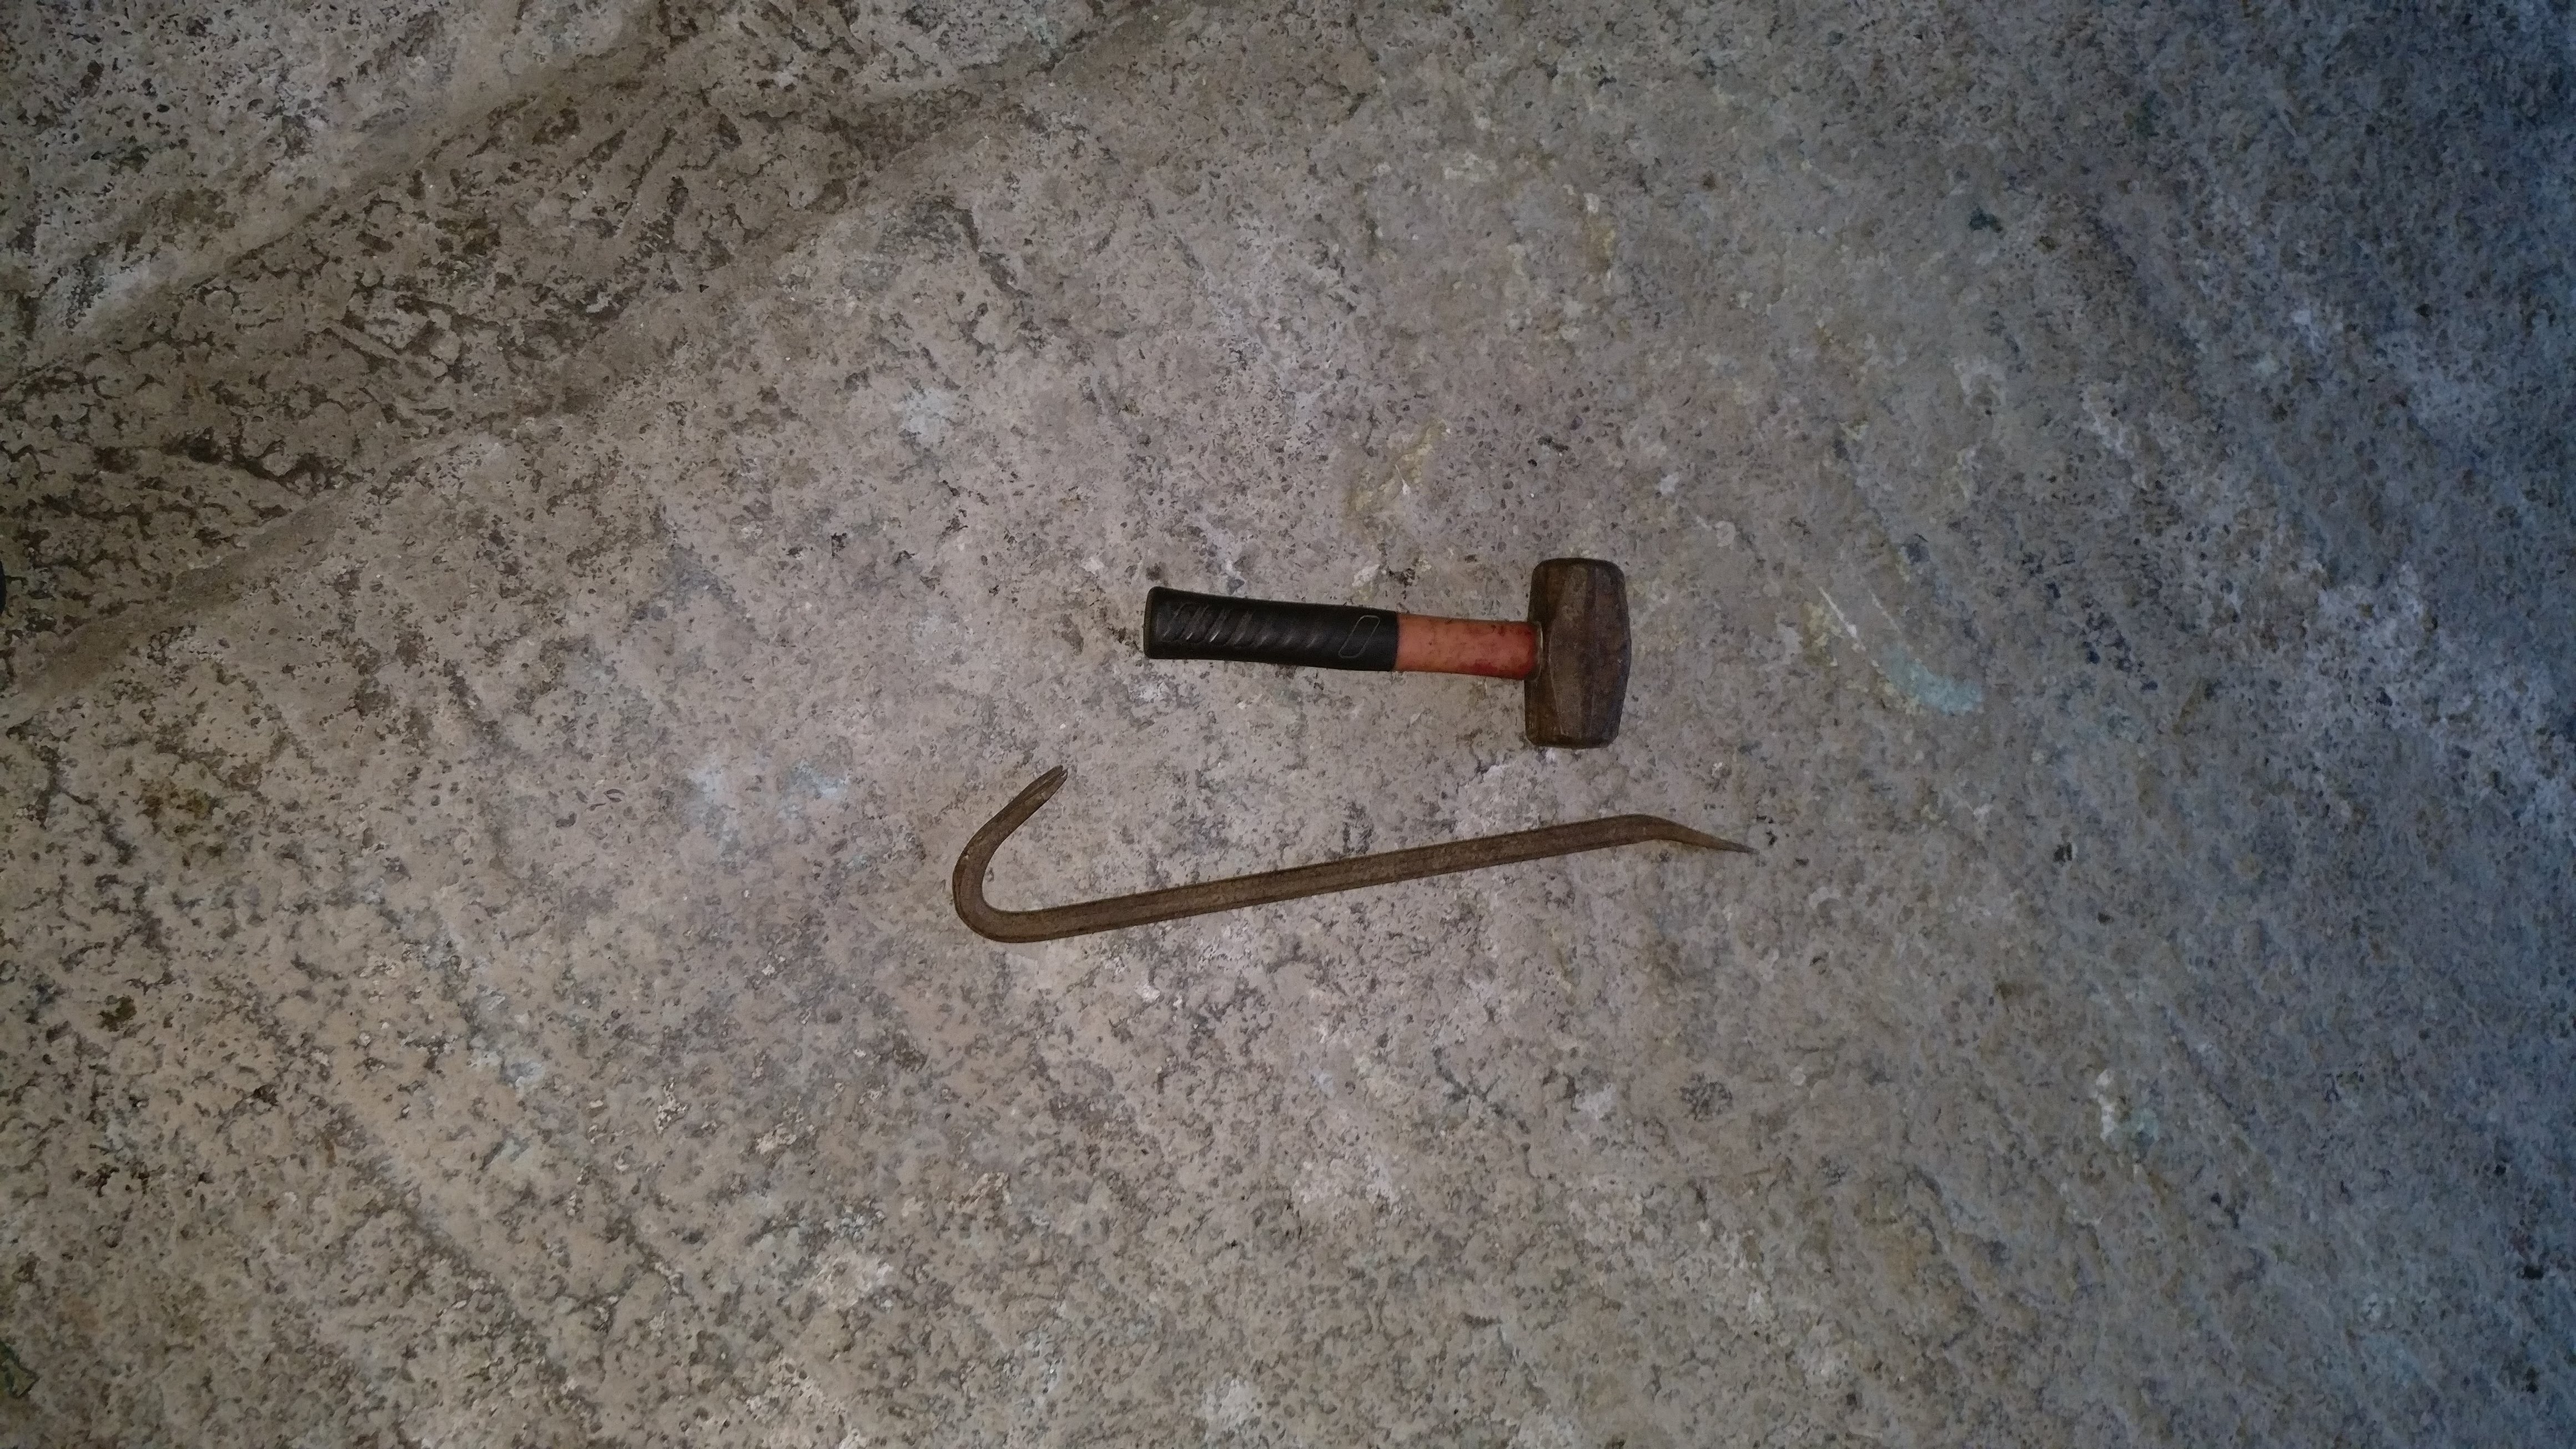
A large hammer and a crowbar. A large hammer is often called for if all else fails, or even before. The idea is you either hammer the flywheel up or jam the bar under it and hammer the crank down. Both of these are bad because you can crack the flywheel and a cracked wheel spinning at several thousand rpm just in front of you rarely ends well. In the event both techniques failed and the wheel remains firmly in place.
We’ve ordered a new and surprisingly cheap
mower.
 oldmxer
> Cé hé sin
04/14/2020 at 18:05 |
|
if you buy the factory made puller it should come with self tapping screws, the holes are a little bigger than the chart would say for using a tap to get a normal thread, it is indeed harder to get one off with a partially sheared key, if you have a propane torch i have had success putting a little preload with the crowbar and heating the aluminum flywheel with a circular motion evenly while concentr ating the heat on the thicker hub, if it’s still not cooperating let cool overnight and try again, over a few cycles it will work. the part in between the hub and the outer rim is very thin, if you have a helper two crow bars opposite will help also, in this case your helper can man the torch while you tap on the nut
 TheRealBicycleBuck
> Cé hé sin
04/14/2020 at 18:07 |
|
That wasn’t the way I expected that story to end.
 SpecsGTP
> Cé hé sin
04/14/2020 at 18:24 |
|
Actually removing a B&S flywheel is quite easy and doesn’t require the fancy tools that Briggs or Oregon would love to sell you. As a small engines teacher I would agree that you should check for a shearing flywheel key, and considering you get them a lot of places and that they don’t cost almost anything I’d go for that.
First, first, FIRST! Remove the spark plug wire (high tension lead) and ground it out, you don’t want it starting on you or even kicking over. Next, isolate the flywheel by removing the shroud and ignition coil. Hold the flywheel in place (strap wrench or similar) and remove the flywheel nut. Less safe is shoving a board under the deck to keep the crank from spinning, but most pros just i mpact it off.
Next, to get the flywheel to break free from the taper on the crankshaft take a piece of metal (large long screwdriver, long extension, basically whatever you can find) and lift up from underneath the flywheel. Lift up hard enough that you are literally tilting the mower over. Be sure you’re not pinching any governor links or crushing any breather hoses/assemblies under it. Also, don’t do it directly underneath the flywheel magnet. If you break that you’re SOL. With a large heavy hammer, strike the end of the crankshaft squarely. Usually 3-4 hits will get the flywheel loose. If the key is stuck in the crankshaft keyway, use diagonal pliers to grip and pull ot out.
If the key has any diagonal lines on it, not even partially or fully sheared, replace it as it sets the ignition timing of the engine. Also, never replace an aluminum key with a steel key. That’s how you shatter flywheel. B&S doesn’t technically use a woodruff key, it’s an aluminum key that is designed to shear in the event of striking a large object so that the momentum can be safely dissipated.
If you want to know more, including how to reinstall, just let me know. This is my favorite time of year when I garbage pick these and get them running again...my students think I walk on water or know magic but it's really simple stuff.
 oldmxer
> oldmxer
04/14/2020 at 18:30 |
|
when ever the time comes to reassemble look online for torque value for your engine model number
 SpecsGTP
> oldmxer
04/14/2020 at 18:31 |
|
I'm never a fan of heading aluminum like that. There should never really be a reason why the flywheel would be extremely difficult to remove even with a sheared key, unless someone over torqued it beyond the 55 lb/ft. I've found the puller to Be effectively useless; handheld sledge and a pry bar works just fine.
 Cé hé sin
> oldmxer
04/14/2020 at 18:40 |
|
The puller I
found on ebay specifically said that it needed a pre
threaded wheel but now that I look further I
see that the official one has se
lf tappers.
 Cé hé sin
> SpecsGTP
04/14/2020 at 18:46 |
|
I got the nut off easily but I was worried about the crowbar a
nd hammer
technique - I just stuck the bar under the wheel, hammered the wheel a couple of times to get it a bit higher then hit the crank but no joy. Maybe I wasn’t hitting it hard enough! I wasn’t actually pulling up on the bar though, maybe that’s th
e
trick.
 SpecsGTP
> Cé hé sin
04/14/2020 at 19:14 |
|
Yep, I would literally pull up to the point that the mower is tipping. And swing hard, but squarely, on the end of the crank; you’re not going to damage it unless you hit the side of the threads. It’ll come up, they always do.
Oh, one more trick. If you have a second person have them do the lifting and you do the striking.
 atfsgeoff
> Cé hé sin
04/14/2020 at 19:17 |
|
Two words: Slide hammer.
 Cé hé sin
> SpecsGTP
04/15/2020 at 09:52 |
|
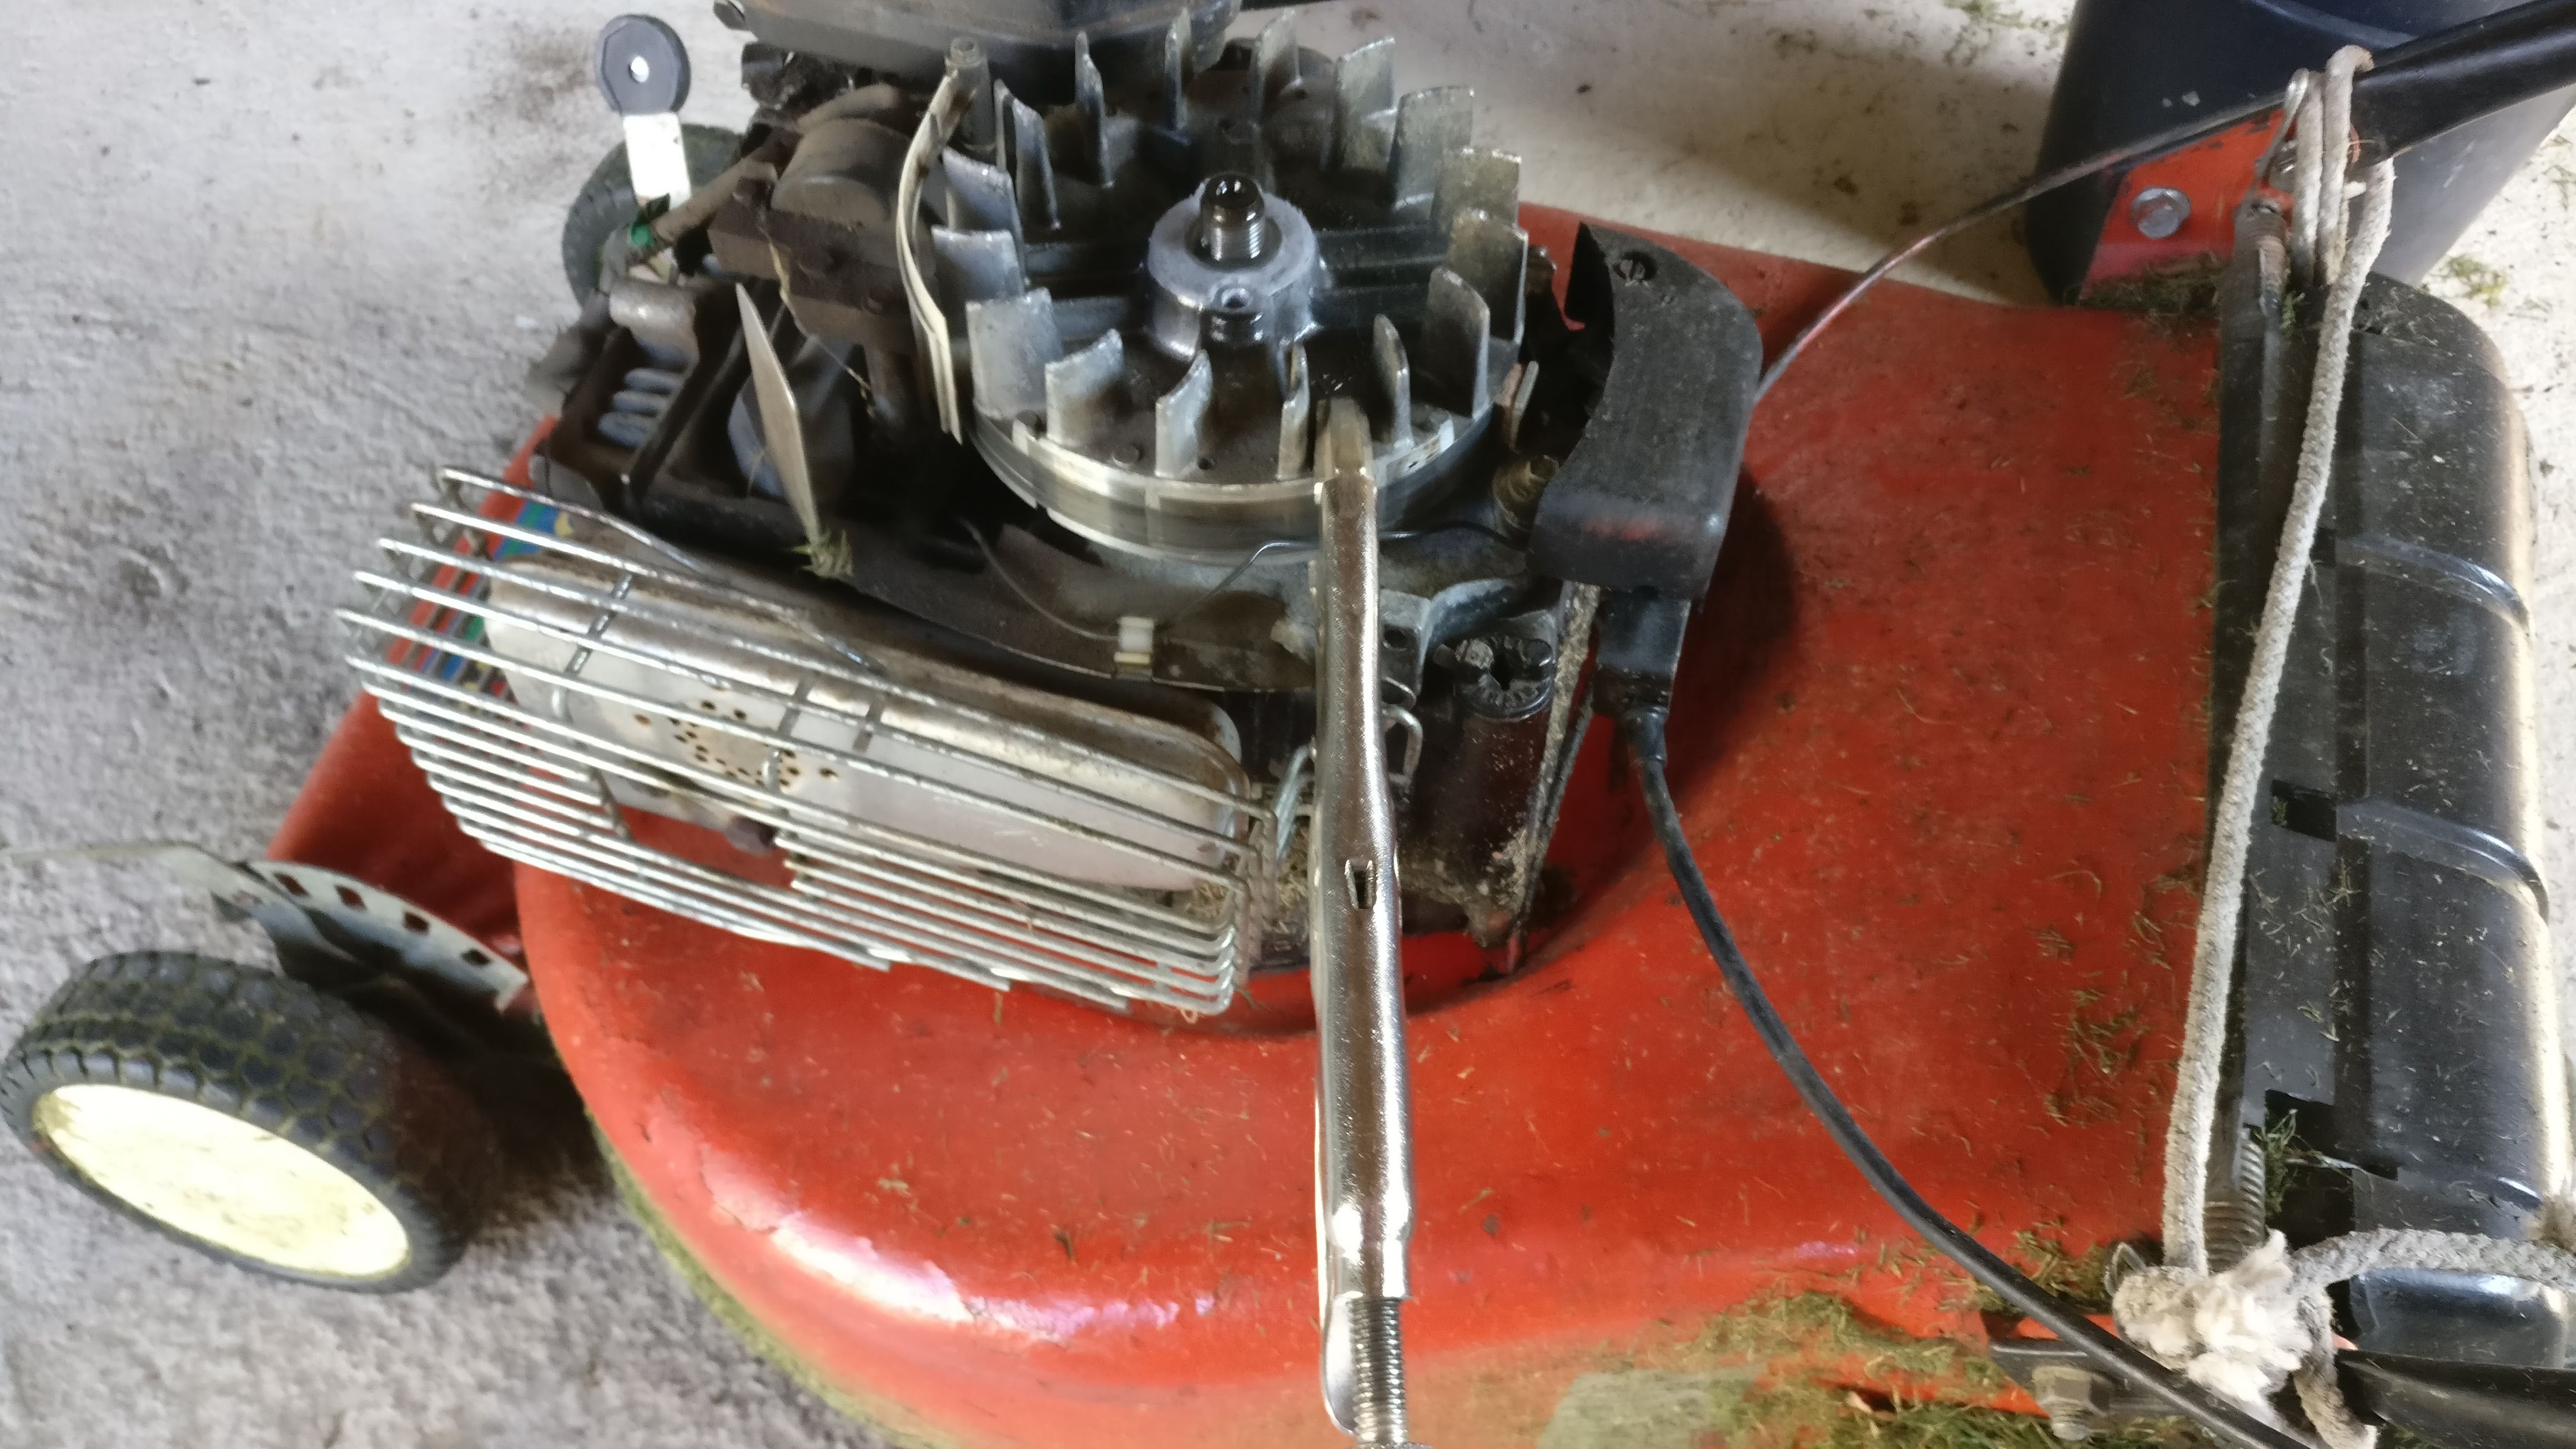
And it’s off!
In the end it took half a dozen flakes with a hammer gentle persuasions to shift and a few more to actually move it . The WD40 that I doused it with yesterday must have helped too because the taper was quite oily.
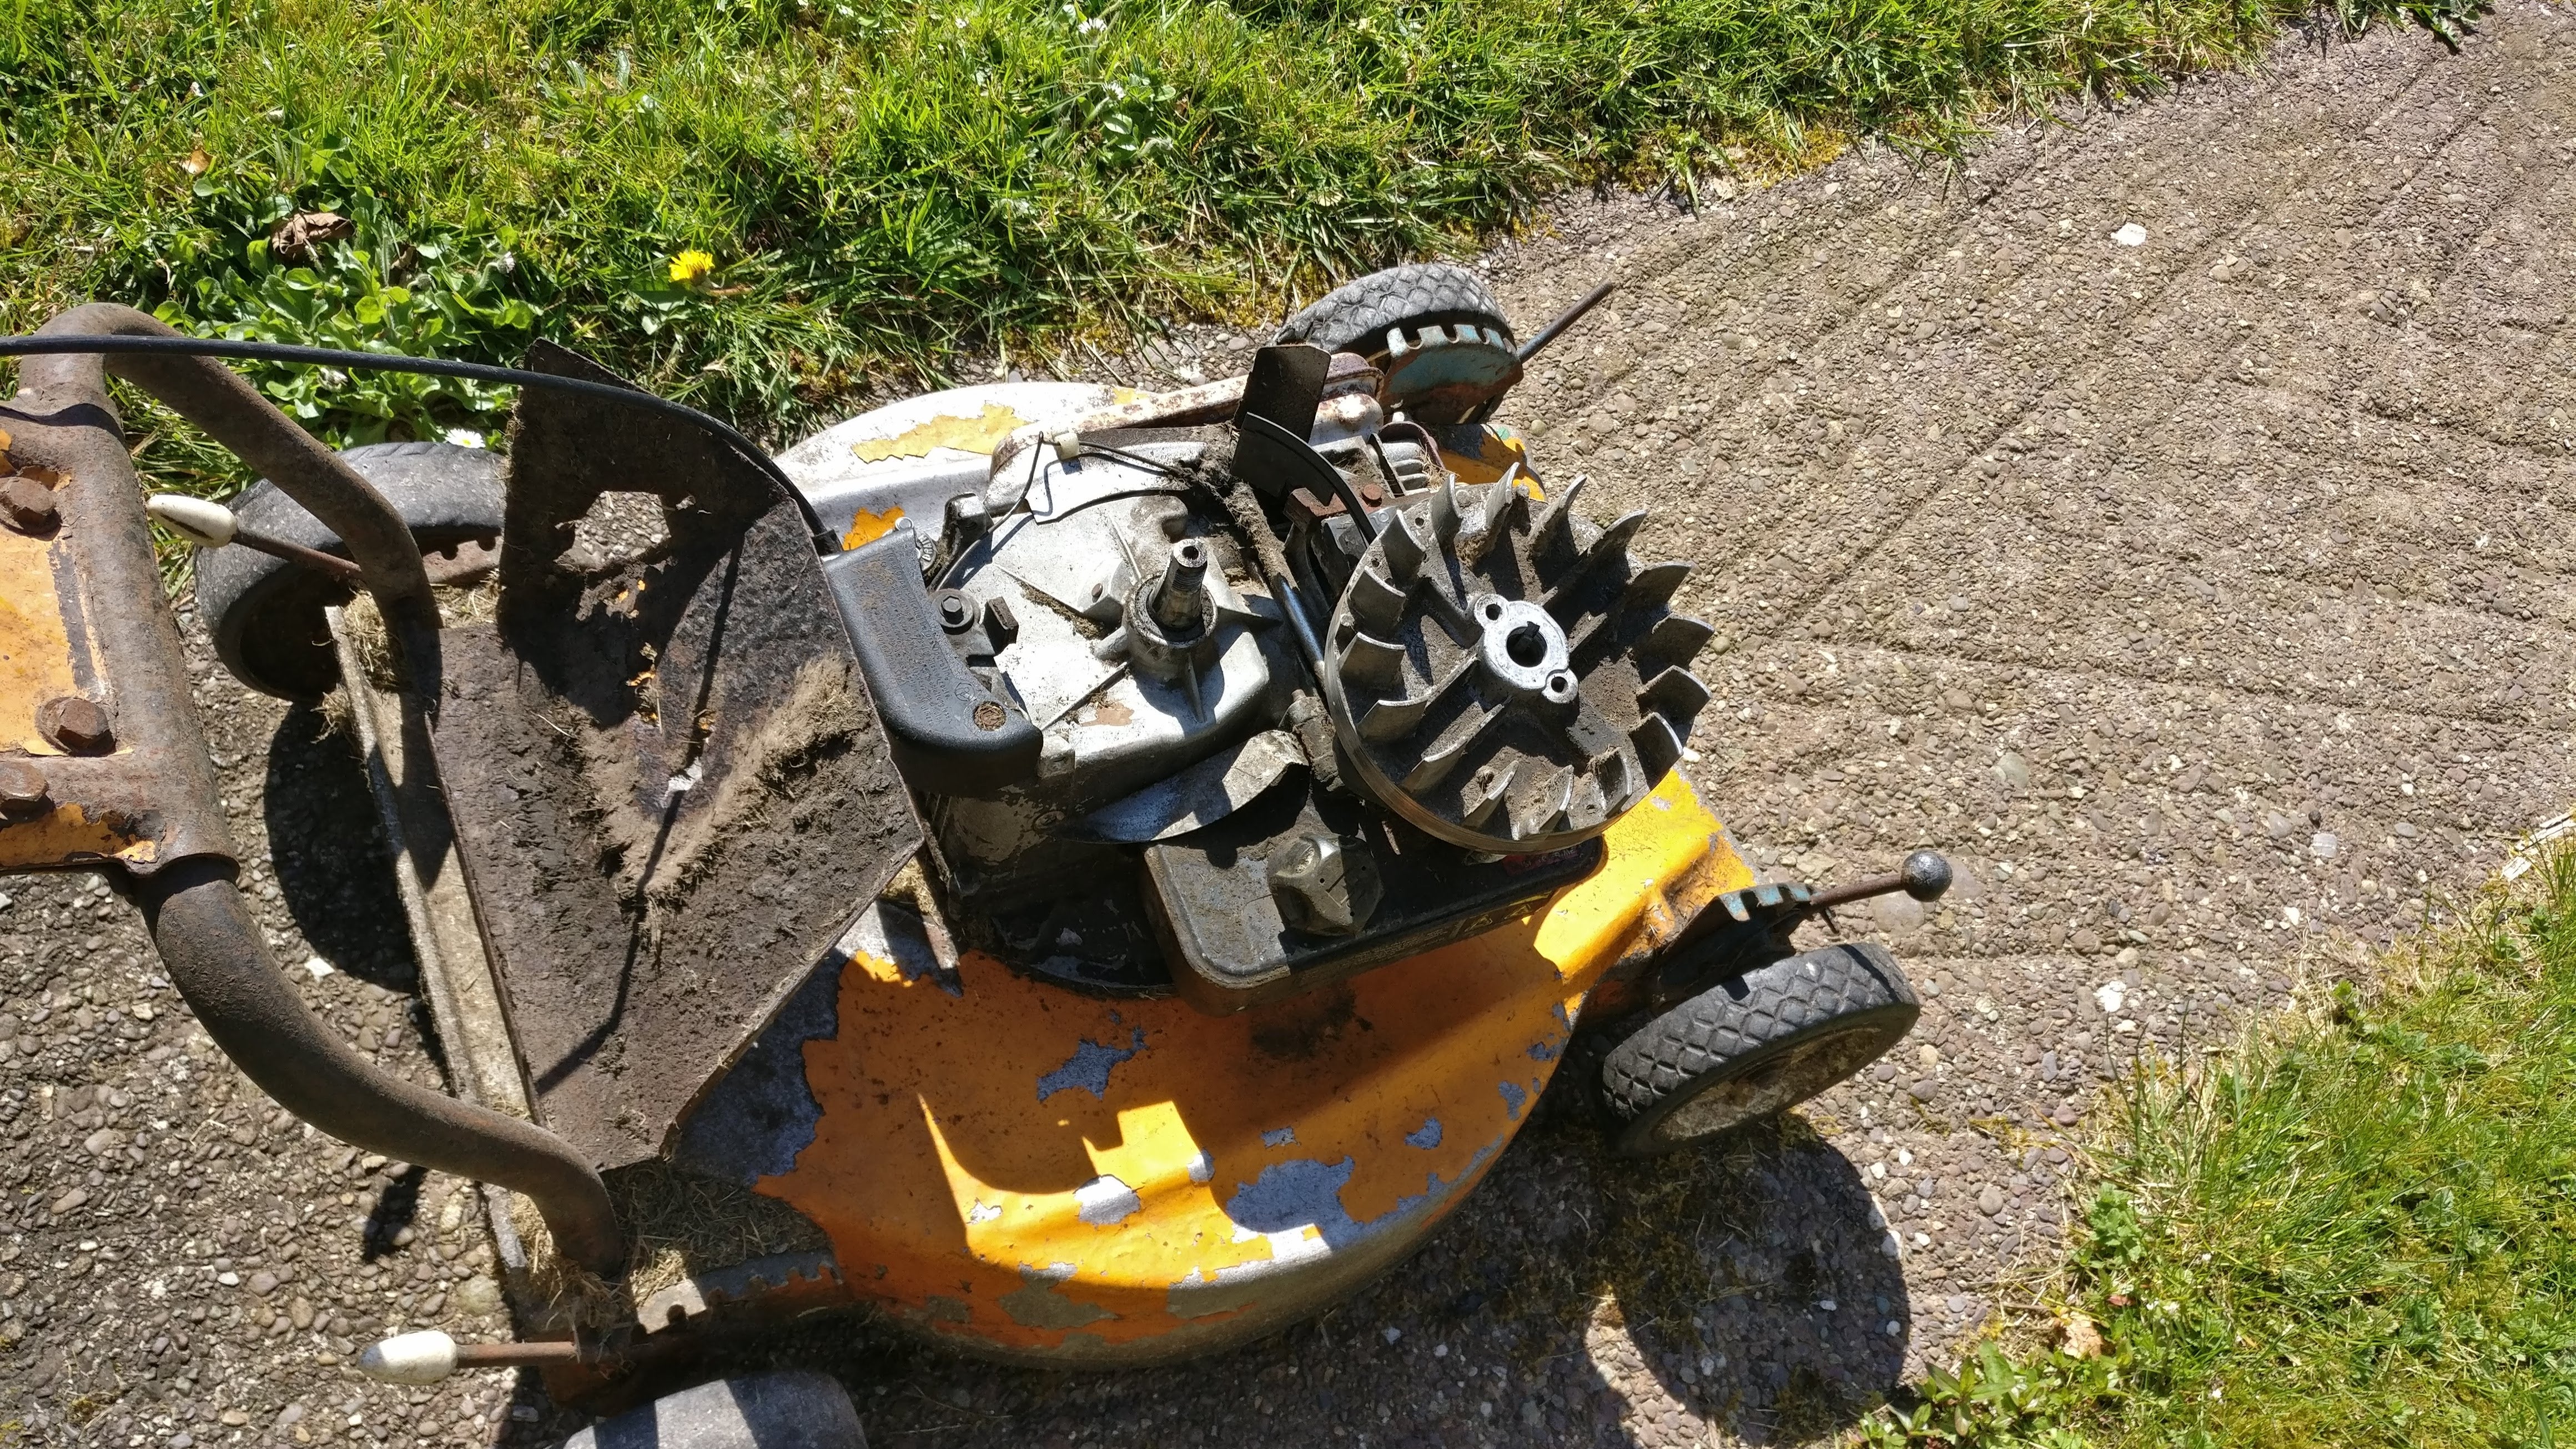
Next is to do the same with the recipient mower. I used the same vice grip technique to immobilise the crank. It’s had a soaking of WD40 for when I get to it.
 SpecsGTP
> Cé hé sin
04/15/2020 at 15:24 |
|
Awww man! That’s awesome, and those are 10A model engines. I can lead you through a step by step on them if you need. I have class sets of those engines t hat I teach my students with for L-head engines!
 Cé hé sin
> SpecsGTP
04/16/2020 at 06:51 |
|
I’ve now extracted, using the “
flake it with a big hammer”
technique, the rec
ipient pin - and it’s like new. Whatever ails our mower, it’s not a sheared or bent pin.
 SpecsGTP
> Cé hé sin
04/17/2020 at 08:40 |
|
While you have the flywheel off carefully (CAREFULLY) tighten the two screws that are on the gray breather tune. Don’t over- tighten them or the plastic will crack. Best to use a socket driver or nut driver rather than a ratchet.
Here’s my suggestion: put it all back together and see if the problem still exists. It could be a defective coil, but the good news is you coul d swap it for the one on the other mower. Torque for your flywheel is 55 lb.ft.
Before putting the flywheel back on, take the starter shroud and rope from the starter and wrap it around the safety stop handle. Make sure the handle is held in the down position so that it will move the flywheel brake pad out of the way. If you don’t have a good strap wrench the brake will actually help hold the flywheel in place a little as you try to torque. But, take care to not damage or crack off any flywheel fins as your engine uses a pneumatic governor. It seems like common sense but I should remind you to put the starter cup on before the flywheel nut or torquing it....I have students forget ALL the time...it’s rather funny watching them trying to figure out which one screwed up and forgot.
To set the coil distance correctly, move the flywheel magnet so it is directly next to the coil. With a piece of printer paper folded over 3 times, place ot between the flywheel and coil and let magnet pull the coil in. Tighten down the screws and simply turn the flywheel to get the paper out.
The other possibilities for the engine issues would be a failing spark plug, a leaking head gasket. or what we hope it isn’t: valves out of adjustment. Either way, I can still walk you through it. Those are good engines and we will make them run again!
 Cé hé sin
> SpecsGTP
04/17/2020 at 12:08 |
|
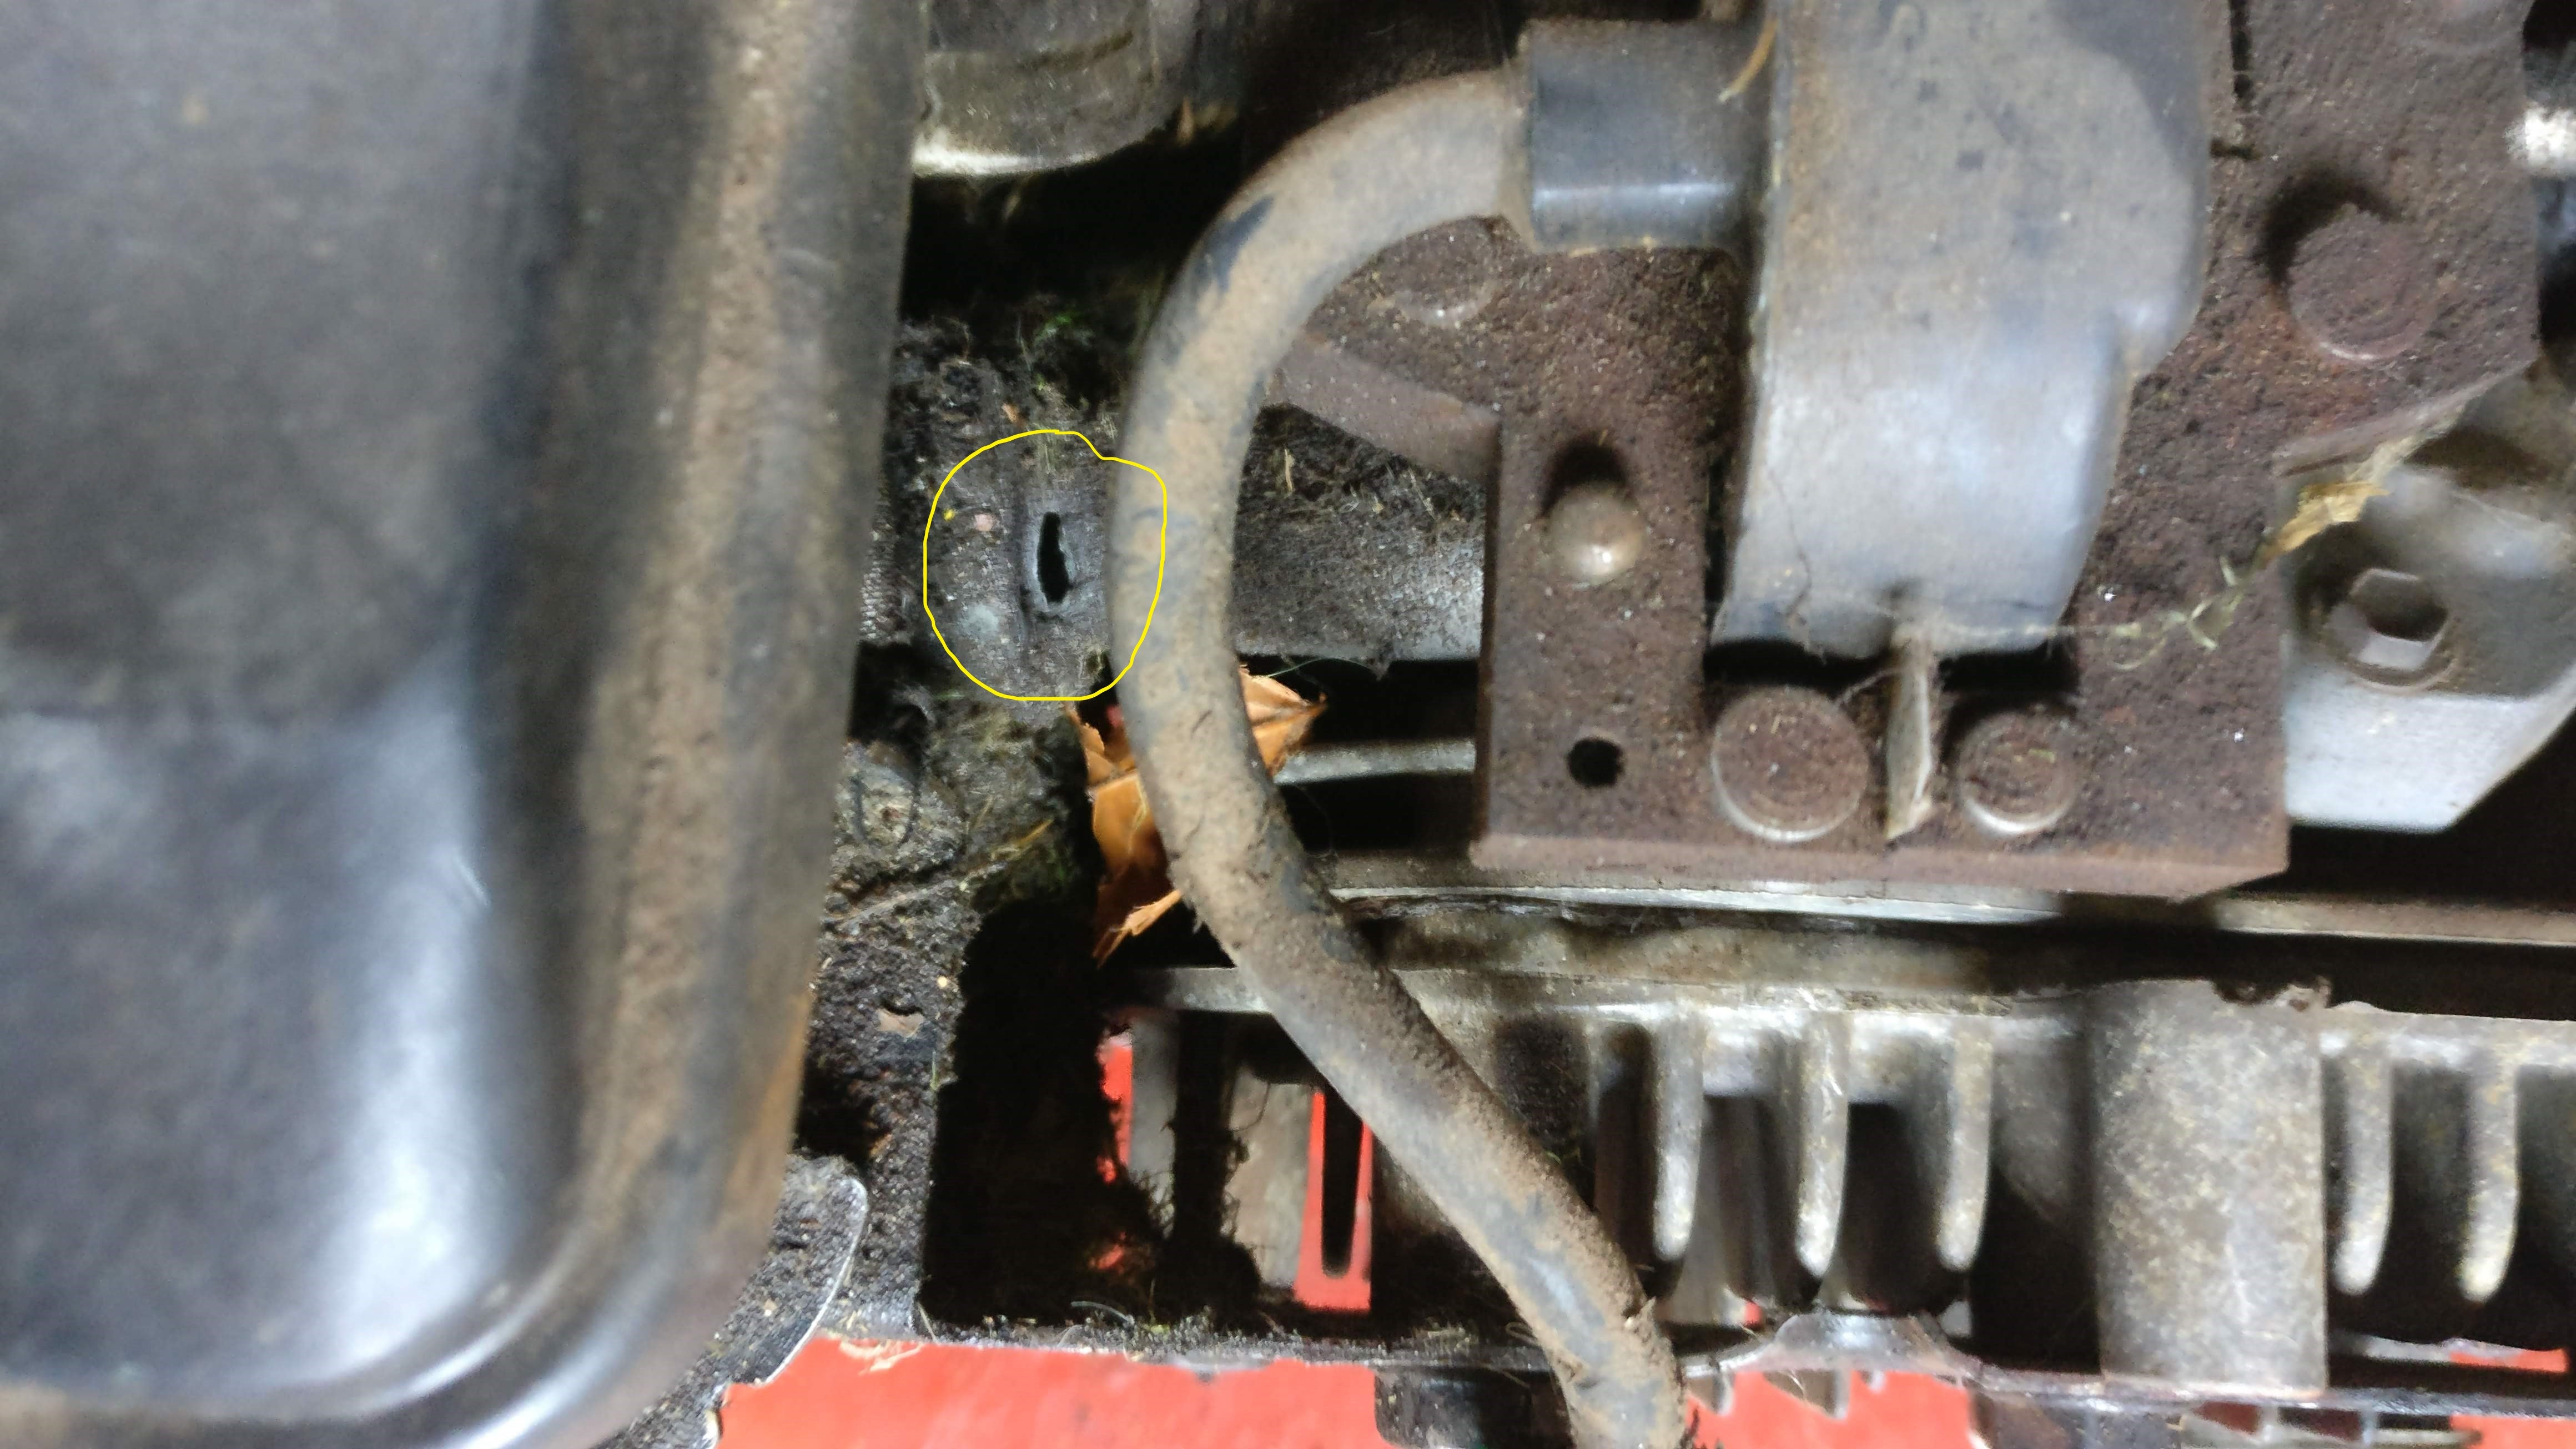
When reinstalling the flywheel on the “good” mower (no torque wrench so I used about the same force that got it off) I came across this hole in the inlet manifold which wouldn’t have helped much.
 SpecsGTP
> Cé hé sin
04/17/2020 at 17:32 |
|
Carefully take off the carb/tank assembly. There will be a large screw directly next to the carb with a small metal spacer and a smaller screw on the front of the bracket that goes across the cylinder head.
Once the screws are out twist/plug off the carb and tank assembly but be careful to not kink or stretch and of the governor springs. With the tank in your hand, tip it forward towards the engine while holding the governor link in your fingers (small piece of metal that goes from the top of the throttle lever to the cream colored governor vane). Simple walk it off the twisty end. When putting back on just reverse the process.
The manifold will either need to be replaced or if you have some JB Weld for plastic I would use that. All that u n-metered, unfiltered air is definitely an issue. That gray plastic B&S used must have been made from used bubble gum wrappers because they always have issues. The sucky ones are where they crack on the underside against the block.
Also, if you want to dig into the carb, it’s fairly easy with only 6 screws. In it you’ll find a carb diaphragm, gasket, spring, and fuel screen. I always recommend replacing the diaphragm and gasket while you're in there.
Have I mentioned I like these engines???
 Cé hé sin
> SpecsGTP
04/17/2020 at 19:18 |
|
My task now is to see if
the plastic manifold on the donor engine is compatible with the cracked
metal
one!
 SpecsGTP
> Cé hé sin
04/17/2020 at 19:39 |
|
Hopefully, but luckily there are only two types: square and circular. You'll know by looking at the end with the two tiny screws that attach it to the block. If the end is squarish or rectangular those are the more common, the less common were the rounded end ones. Long story short, if they look the same, swap them!